Tuesday, June 21, 2011

Project: Yardsale!

I spent 14 dollars, went to three different yard sales, a total of 30 minutes and got all of this wood for projects! Yes, I did happen across a great yard sale that was selling wood for projects...but I had to be bargainer to get more for less. A lot of times people just want the stuff out of their house and so a good way to get more is to ask for it!
Don't be afraid to clump things together in a box and ask for one price for all. The worse they can say is no...

I found these cupboard doors, going for a dollar a piece which is really cheap, but I asked if I bought more than just one if they would take it down to 50 cents a piece.
I haven't settled on what I want to do with them...but I have some awesome ideas!

I found this for 5 bucks! This frame at Roberts is 20-30 bucks.
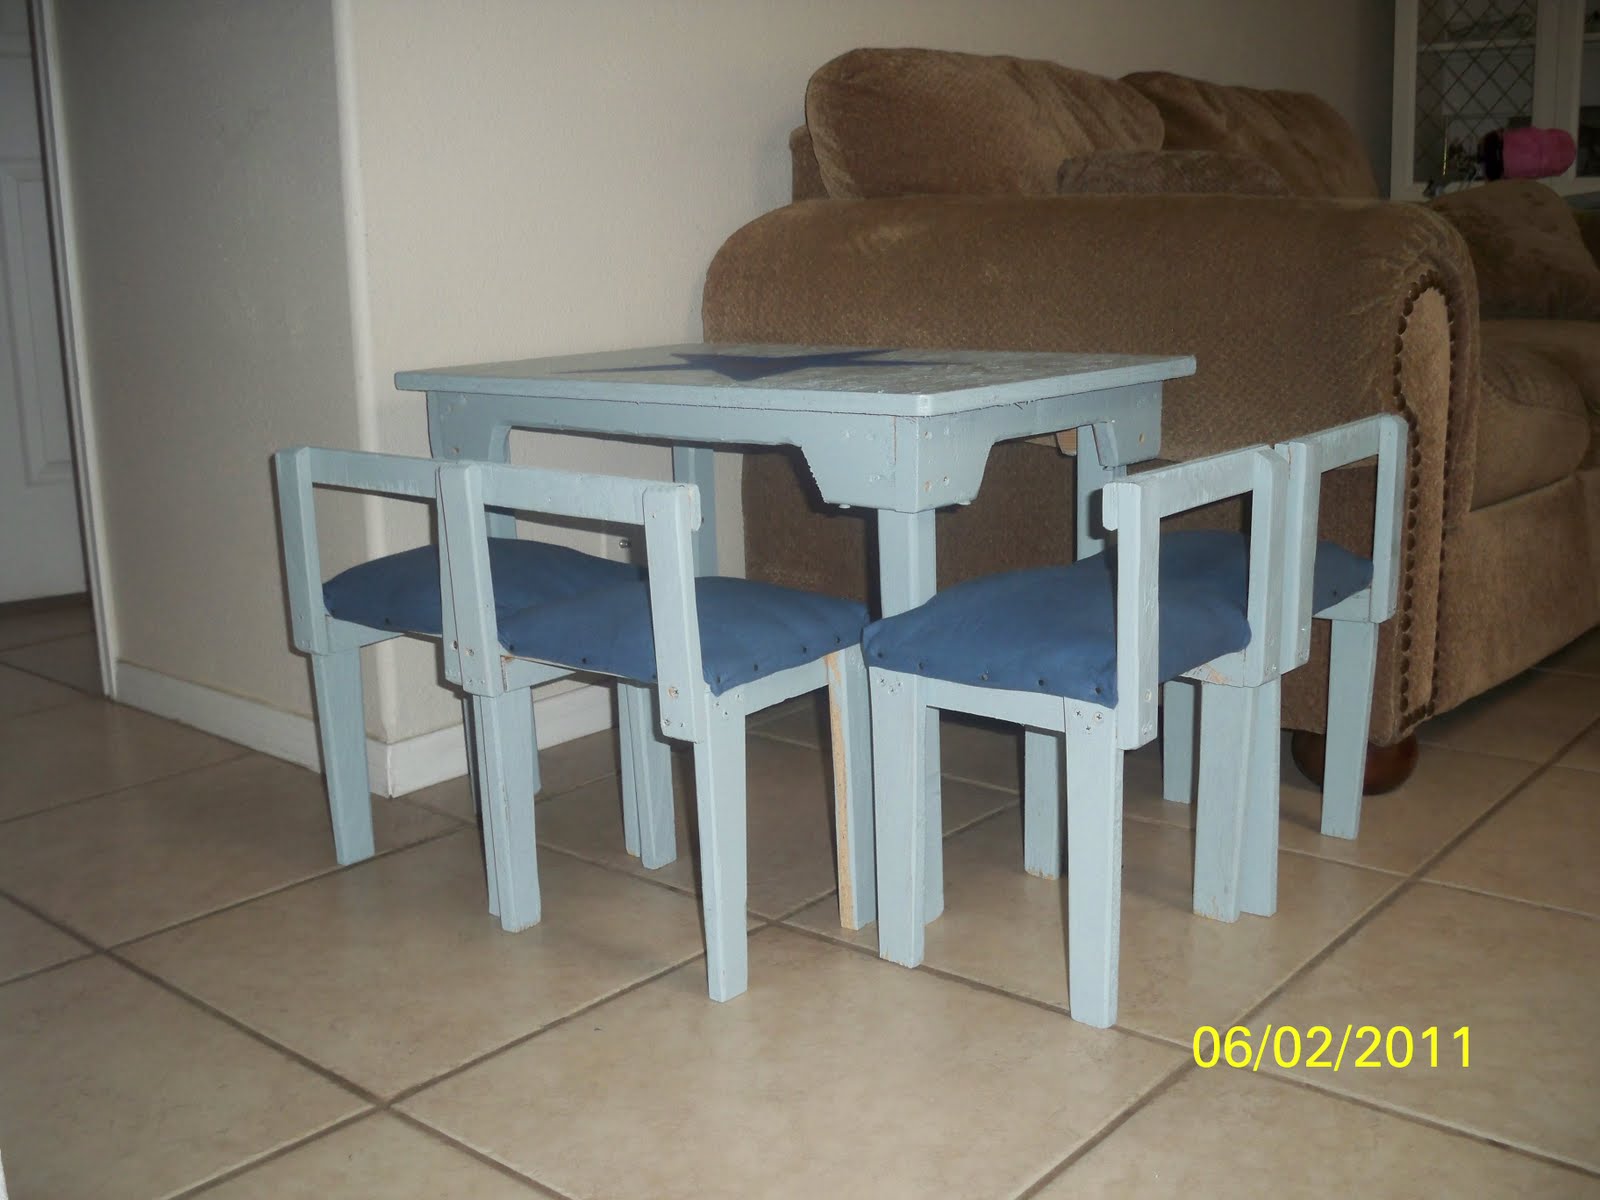
I am so excited to give this guy a fresh new look!

For creators on a budget, yardsales are a must!

Friday, June 10, 2011

Project: Girly Designs

I thought Jana's jewelery holder was so cute and super useful!
So... I made one too!

I love how crafting is so personal-everyone's things take on a totally different look!

(if you need to be reminded of Jana's super darling jewelery holder, click HERE)


Thursday, June 9, 2011

Project: DIY Shrug

I am absolutely in love with cardigans. And now that it is getting hotter, I am unwillingly putting them away in my winter clothes box. SO, when I came across this tutorial: Click on the Inspiring Projects tab at the top of the page, then on the DIY Shrug link. I was elated! I sifted through my closet and found this seafoam green top and an old (but new with the tags!) white shirt and set to work.
1. Cut straight up the middle of the shirt!
2. Start pinning! Leaving enough space for the ribbon or elastic to be pulled through. You will be pinning up one side around the neck and down the other side!
3. Sew! TIP: I trimmed my edges on the inside after I sewed so it wouldn't look so bulky.
4. Thread your ribbon or elastic through. TIP: My top picture is done with elastic. I cut the elastic after I measured it around my neck and cut where I wanted my shrug to hang. Then I sewed the bottom closed to make sure the elastic would not slip out.
You can sew the bottom with the ribbon too...but I like having the option of sinching the shrug with whatever my mood or outfit is that day! 
Your supplies: Ribbon (or elastic), shirt from Wal*Mart! Four bucks! Can't beat that! And of course a sewing machine. :0)
The White Shrug with ribbon. These look very cute over those long jersey dresses too! Thanks for the idea! I'll probably be making these all summer. :0)

Wednesday, June 8, 2011

Project: Key Hanger Redo!

The signature in the corner says Janice '83... well, sorry Janice.
This little beauty was left in our house when my husband and I bought it & we all know why...
After the first year or so I tossed it in the yard sale pile, however I rediscovered it yesterday.
So I painted it black, Mod Podged it with my dreamy new scrapbook paper & hung her back up on the wall...works like a charm!


Monday, June 6, 2011

Project: Chalk Board!

I hated this wall. Boring.
So I did something fun with it!
a Chalkboard.

I've seen the whole wall covered with the paint, but I'm a teacher...so I had to frame it :)

the paint.

Get enough paint so that you can do 2 coats.

the frame is the cheapest, smallest molding from the local hardware store painted red...under 5 bucks-per side. I used swirls to embellish the corners...

this is the backside of a wall-hanging I wasn't using...I painted black with regular black paint and used chalk to write on it.

After 3 days you have to chalk the entire thing  to "condition" it. (I was a little sad because I loved how black it was) This will help it to erase better in the future. After 7 days you can wash it down with water and soap.

I can't get the best picture because it is a partial hallway...
(if you are wondering what the white thing in the middle is...it's my thermostat, unavoidable.)
Be Daring! Find something to turn into a chalkboard...
think of the giant "To Do:" lists you could write...

Friday, June 3, 2011

Project: Kiddo Table


I really lucked out with this project! This sweet older gentleman (89 years old!) wanted to make my son a table & chairs-so I let him! It was a very simple design made from all sorts of scrap wood.


So I painted them blue...

Added padding and fabric to the seats...

then I used my Country Star to stencil a big star on top!

...Finished!

Fairly simple. Lots of fun ahead.

Thursday, June 2, 2011

We will be featured here tomorrow! Come on over and say Hi!
A big shout out to Lindsey at Inspiring Creations: THANK YOU!

Wednesday, June 1, 2011

Project: 4th of July Decor

For June's craft, I had to incorporate stars into my woodwork! I found the wooden stars in a 4 pack for .99 at Hobby Lobby, got out a scrap piece of wood, my paints and some festive paper...and I  couldn't ever forget my Mod Podge! hehe. It turned out to be a pretty cute door hanger. 
First up! I painted the stars white and my block of wood brown, once the stars were dry, I traced the stars and cut them out. Then I mod-podged the paper stars onto the wooden stars. After waiting a bit, I sanded the block of wood and the stars, pulled out my wood glue and my staple gun. I used wood glue to stick on my stars, and I used the staple gun to add the ribbon to the back. The embellishments were added using a Hot Glue Gun.
The whole project maybe took an hour! Super cheap and super easy! I can't wait to get more 'STAR' ideas! Thanks "Wood You Like to Craft"!